Bar Magnet Pack for WLAN Pi M4
4x bar magnets for the WLAN Pi M4.
25 x 10 x 3 mm Neodymium Magnets
N52 Strength
South Pole marked
Each magnet will have black markings to denote the south pole, these should be installed into the WLAN Pi M4 with the south pole facing downwards.
Neodymium is pronounced “nee-eh-dim-ee-em”
Magnet Safety
These magnets are designed to be used in dry conditions.
Neodymium magnets are by their nature both hard and brittle. Care must be taken when handling these magnets as there is serious danger of trapped fingers, pinched skin and flying shards of metal.
DO NOT Allow Neodymium magnets to jump together or jump to steel as they will likely shatter.
These magnets are not toys, they are not suitable for use by children.
Always keep magnets away from items that may be damaged by the powerful magnetic field such as credit cards, computer drives, mobile phones etc.
Not to be handled near or by people with Heart Pace Makers etc.
Disclaimer of sorts
This item is potentially dangerous if handled incorrectly. By purchasing this item you accept that BadgerWiFi does not / cannot accept any responsibility for damage or personal injury caused by these magnets.
Installation Notes
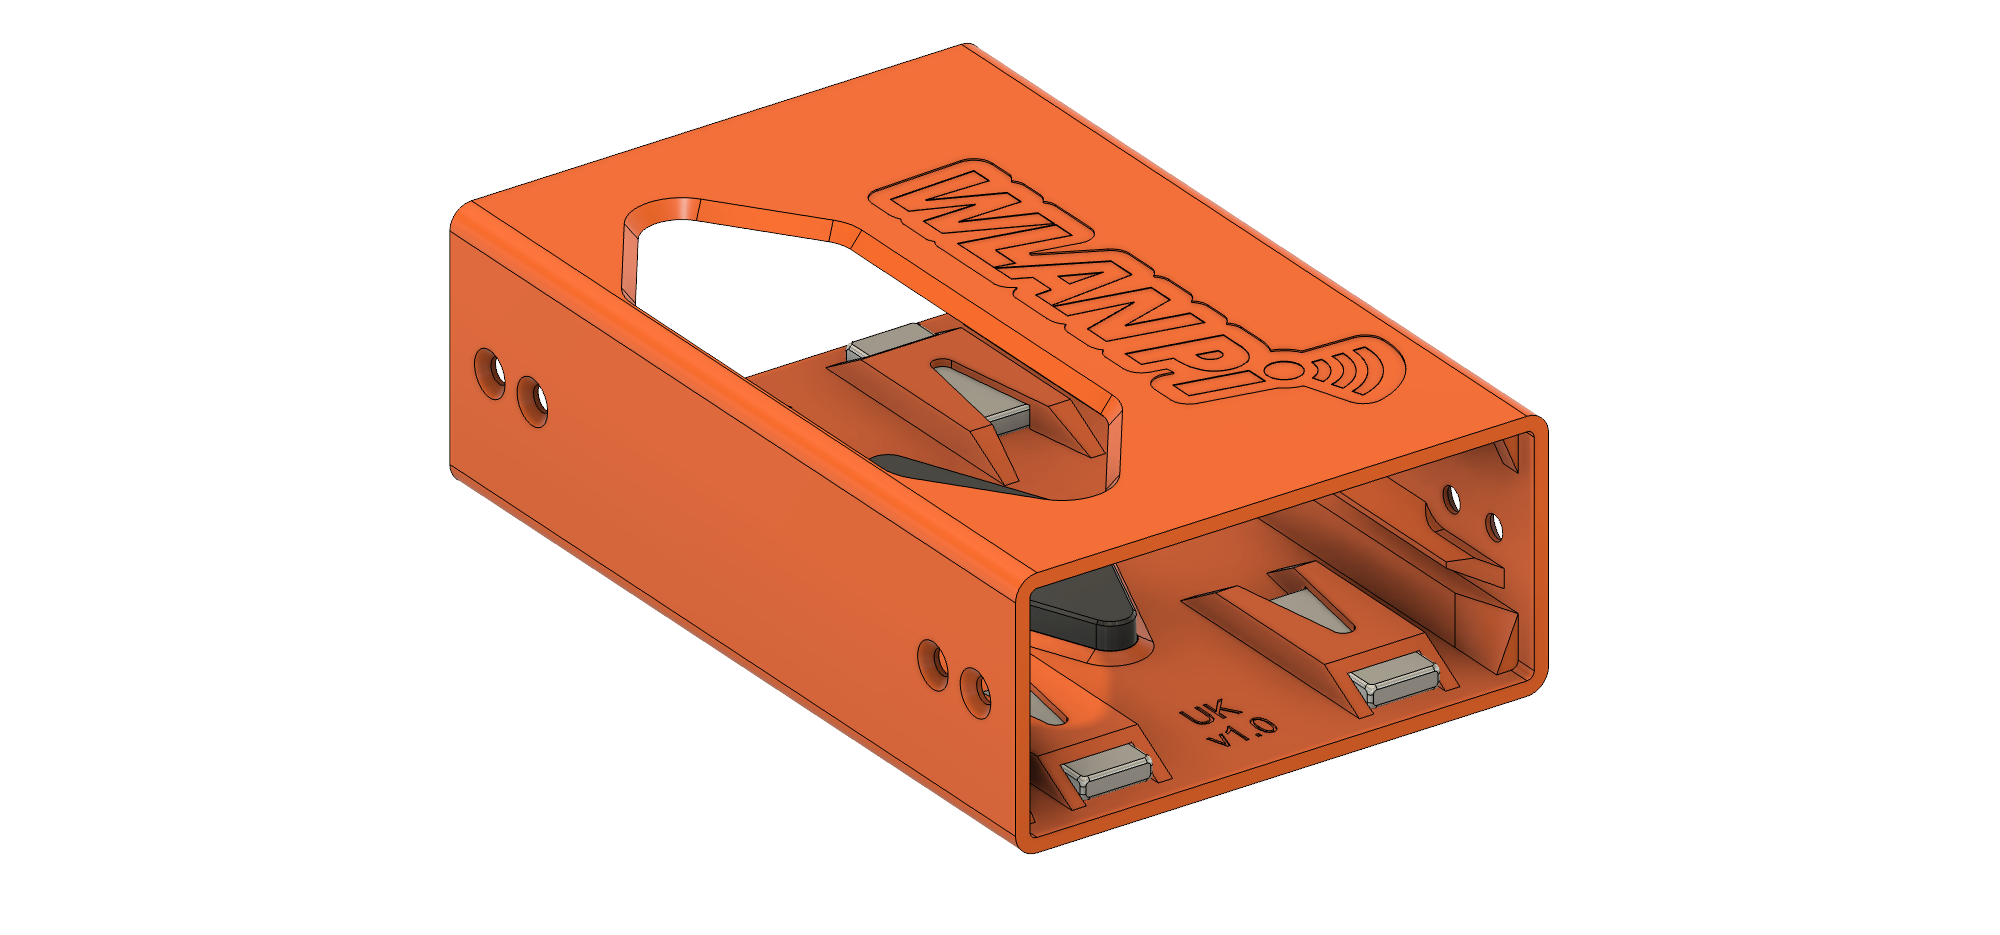
You may find it possible to install the bar magnets without removing the internal components of the WLAN Pi M4 from the orange case! If you do not find this to be possible please read the following guidance.
Disassembly
In order to remove the WLAN Pi M4 internals (PCB, antennas, screen and buttons) from the case, IT IS NECESSARY to remove the joystick button cap FIRST. This is only glued in place with a very small dot of super glue.
Remove the joystick cap by pulling it upwards away from the screen and buttons with a fingernail, it should not require much force!
Once the joystick cap is removed, you can loosen and remove the 8x black machine screws holding the end caps in place.
To extract the internal components, hold the WLAN Pi M4 in your right hand and forcefully hit the palm of your left, after 2 or 3 whacks, the internal components will shift outwards along with 1x of the end-caps. YOU CANNOT PUSH the internals out from the opposite side!
Bar Magnet Installation
Remove the 4x black machine screws holding the threaded magnet slugs in place. The slugs should be easy to remove, if not, the case will allow you to push them out with a screwdriver or similar.
Now you can insert the bar magnets, the Southern pole face of the magnet is marked in black, it is recommended to install the magnets with their South pole facing downwards, though this is only a convention suggestion, it does not really matter.
The bar magnets should friction fit into the slots tightly, they are further secured in place by the end-caps.
Re-assembly
Re-insert the internal components, push the end-caps into place, tighten the 8x black machine screws.
VERY IMPORTANTIf you wish to re-glue the joystick cap!THIS MUST BE PERFORMED with the unit UPSIDE DOWN otherwise the glue will likely seep down into and bind the joystick mechanism.
Clean away any glue residue from the joystick peg and from inside the joystick cap. Apply a very, very small dot of super glue to the top surface of the joystick peg, not even enough to fully cover the flat surface will be sufficient.
Align the joystick cap, place over the peg, and then TURN THE WHOLE UNIT UPSIDE DOWN, now push the joystick cap firmly all the way, press it a few times, you should feel the joystick clicking.
Keep the unit upside down for 12-24 hours in a warm environment.
THE GLUE MUST BE ALLOWED TO DRY UPSIDE DOWN.
Feedback on these instructions is very welcome!


